1. The Bleach Blitz Method
When it comes to mold destruction, bleach is like bringing a lightsaber to a butter knife fight. This powerhouse solution doesn't just clean the surface – it penetrates deep into porous grout lines to eliminate mold at its roots. Mix one part bleach with ten parts water in a spray bottle, ensuring your bathroom is well-ventilated because nobody wants to feel dizzy while wielding cleaning supplies.
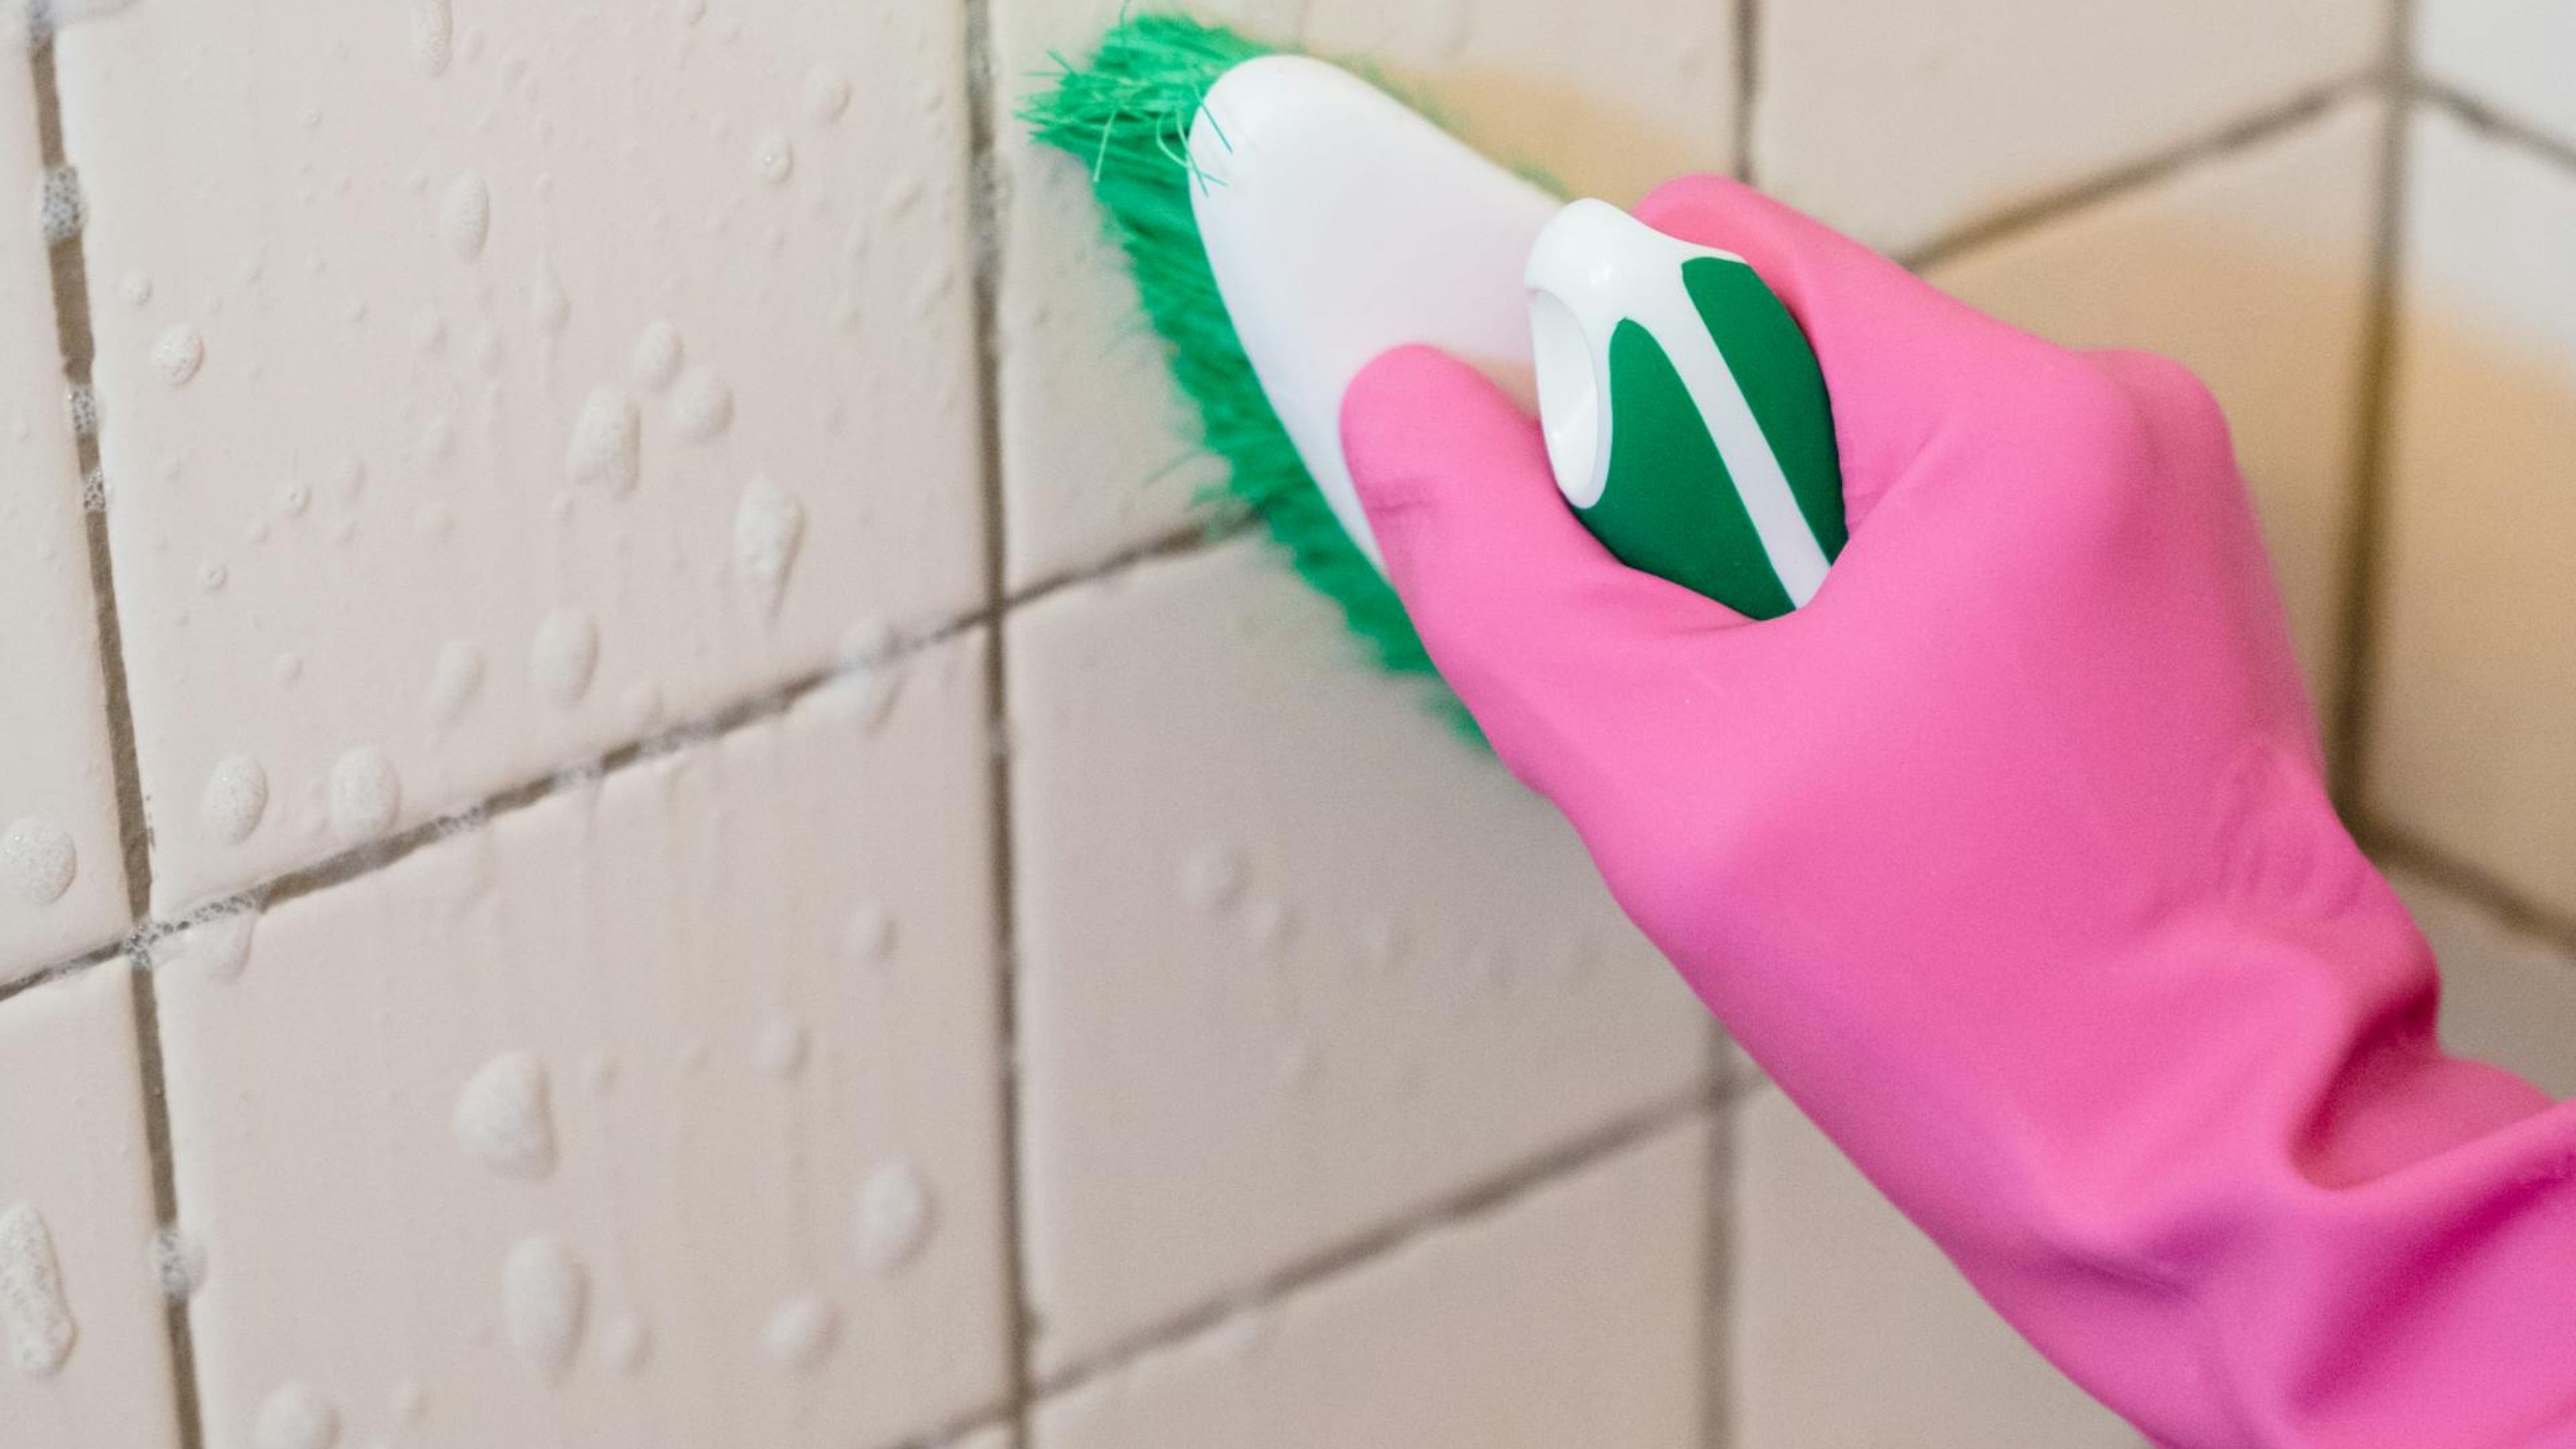
Spray the solution generously on affected areas and let it sit for 10-15 minutes while the bleach works its magic. The key here is patience – resist the urge to scrub immediately, as the chemical reaction needs time to break down those stubborn mold colonies. After the waiting period, use an old toothbrush to gently scrub the grout lines, then rinse thoroughly with warm water.
2. The Vinegar Victory Dance
For those who prefer natural solutions or have sensitivity to harsh chemicals, white vinegar is your new best friend. This pantry staple contains acetic acid, which creates an environment so hostile to mold that even the most stubborn spores pack their bags and leave. Pour undiluted white vinegar into a spray bottle and apply it directly to moldy areas without diluting its potent effects.
Let the vinegar sit for at least an hour – think of it as marinating your tiles for optimal mold elimination. The acidic environment will gradually break down mold structures while also preventing future growth in treated areas. Follow up with a thorough scrub using a stiff-bristled brush, focusing on grout lines where mold loves to hide like a teenager avoiding chores.
3. The Baking Soda Power Combo
Sometimes the best solutions come from combining forces, and baking soda mixed with water creates a paste that's both gentle on surfaces and ruthless with mold. This alkaline powerhouse works differently than acidic solutions, making it perfect for a one-two punch approach. Create a thick paste using three parts baking soda to one part water, then spread it over affected areas like you're frosting the world's least appetizing cake.
The abrasive nature of baking soda helps physically remove mold while its alkaline properties inhibit future growth. Let the paste sit for 15-20 minutes, then scrub with circular motions using a brush or sponge. For extra cleaning power, spray vinegar over the baking soda paste to create a fizzing reaction that helps lift stubborn mold deposits from deep within grout lines.
4. The Hydrogen Peroxide Heavy Hitter
Hydrogen peroxide deserves more credit than it gets – this bubbly solution is like a gentle giant that's tough on mold but kind to your tiles. Unlike bleach, it doesn't produce harmful fumes, making it perfect for smaller bathrooms or those sensitive to strong chemical odors. Use a 3% hydrogen peroxide solution (the standard drugstore variety) and spray it directly onto moldy areas.
Watch as the solution begins to foam and bubble – that's the hydrogen peroxide breaking down mold at the molecular level while also brightening your grout. Allow it to work for 10 minutes before scrubbing with a brush, paying special attention to corners and edges where mold tends to establish its stronghold. The oxidizing action continues working even after you've finished scrubbing, providing ongoing protection against mold regrowth.
5. The Commercial Cleaner Champion
Sometimes you need to call in the professionals, even if they come in a spray bottle from your local hardware store. Commercial mold and mildew cleaners are specifically formulated to tackle the toughest cases where homemade solutions might struggle. Look for products containing quaternary ammonium compounds or those specifically labeled as EPA-registered mold killers.
These specialized cleaners often work faster than DIY solutions and may be more effective against certain mold species that have developed resistance to common household products. Follow the manufacturer's instructions precisely, as these products are designed with specific contact times and dilution ratios for maximum effectiveness. Always ensure proper ventilation and wear gloves when using commercial cleaners, as they're typically more concentrated than homemade alternatives.
6. The Steam Treatment Triumph
Heat can be mold's kryptonite when applied correctly, and a steam cleaner offers a chemical-free approach that's both effective and satisfying to watch. The high temperature steam penetrates grout pores while the pressure helps dislodge stubborn mold colonies that have made themselves at home. Rent or purchase a steam cleaner with attachments specifically designed for tile and grout cleaning.
Move the steam cleaner slowly across affected areas, allowing the heat and moisture to do the heavy lifting while you guide the machine.
The combination of heat and pressure will loosen mold deposits while also sanitizing the surface without leaving chemical residues. Follow up immediately with a clean cloth to wipe away loosened mold and excess moisture, preventing new mold from taking advantage of the humid environment.
7. The Prevention Protocol
The best offense is a good defense, and preventing mold growth is infinitely easier than removing established colonies. Install a quality exhaust fan if you don't already have one, and run it during and for at least 30 minutes after each shower to reduce humidity levels. Wipe down shower walls and doors after use to eliminate the moisture that mold needs to thrive.
Consider applying a grout sealer after deep cleaning to create a protective barrier that makes it harder for mold to establish itself. Regular weekly cleaning with any of the above methods will prevent small mold problems from becoming major headaches. Think of it as regular maintenance for your bathroom – a small investment of time that pays dividends in long-term cleanliness and health.
The Final Scrub
Your shower tiles don't have to be the villain in your home's story – with these proven methods in your cleaning arsenal, you can turn them back into the sparkling heroes they once were. Whether you choose the chemical strength of bleach, the natural power of vinegar, or the gentle effectiveness of hydrogen peroxide, consistency is key to maintaining a mold-free bathroom.
Remember that different mold types may respond better to different treatments, so don't be afraid to experiment with various methods until you find your perfect match. Your bathroom should be a sanctuary of cleanliness and relaxation, not a breeding ground for unwanted fungal guests. With regular maintenance and the right approach, you can keep your shower tiles looking fresh, clean, and ready for their close-up – no reality TV drama required.
📚 Sources
1. Environmental Protection Agency. (2022). Mold Remediation in Schools and Commercial Buildings. EPA Office of Air and Radiation.
2. Centers for Disease Control and Prevention. (2023). Basic Facts about Mold and Dampness. National Center for Environmental Health.
3. American Lung Association. (2023). Mold and Health. Environmental Health Guidelines.
🔍 Explore Related Topics