This guide is for anyone who's been curious but hasn't started yet. You don't need to do this perfectly. You just need to start somewhere.
What Composting Actually Is (And Why It's Worth It)
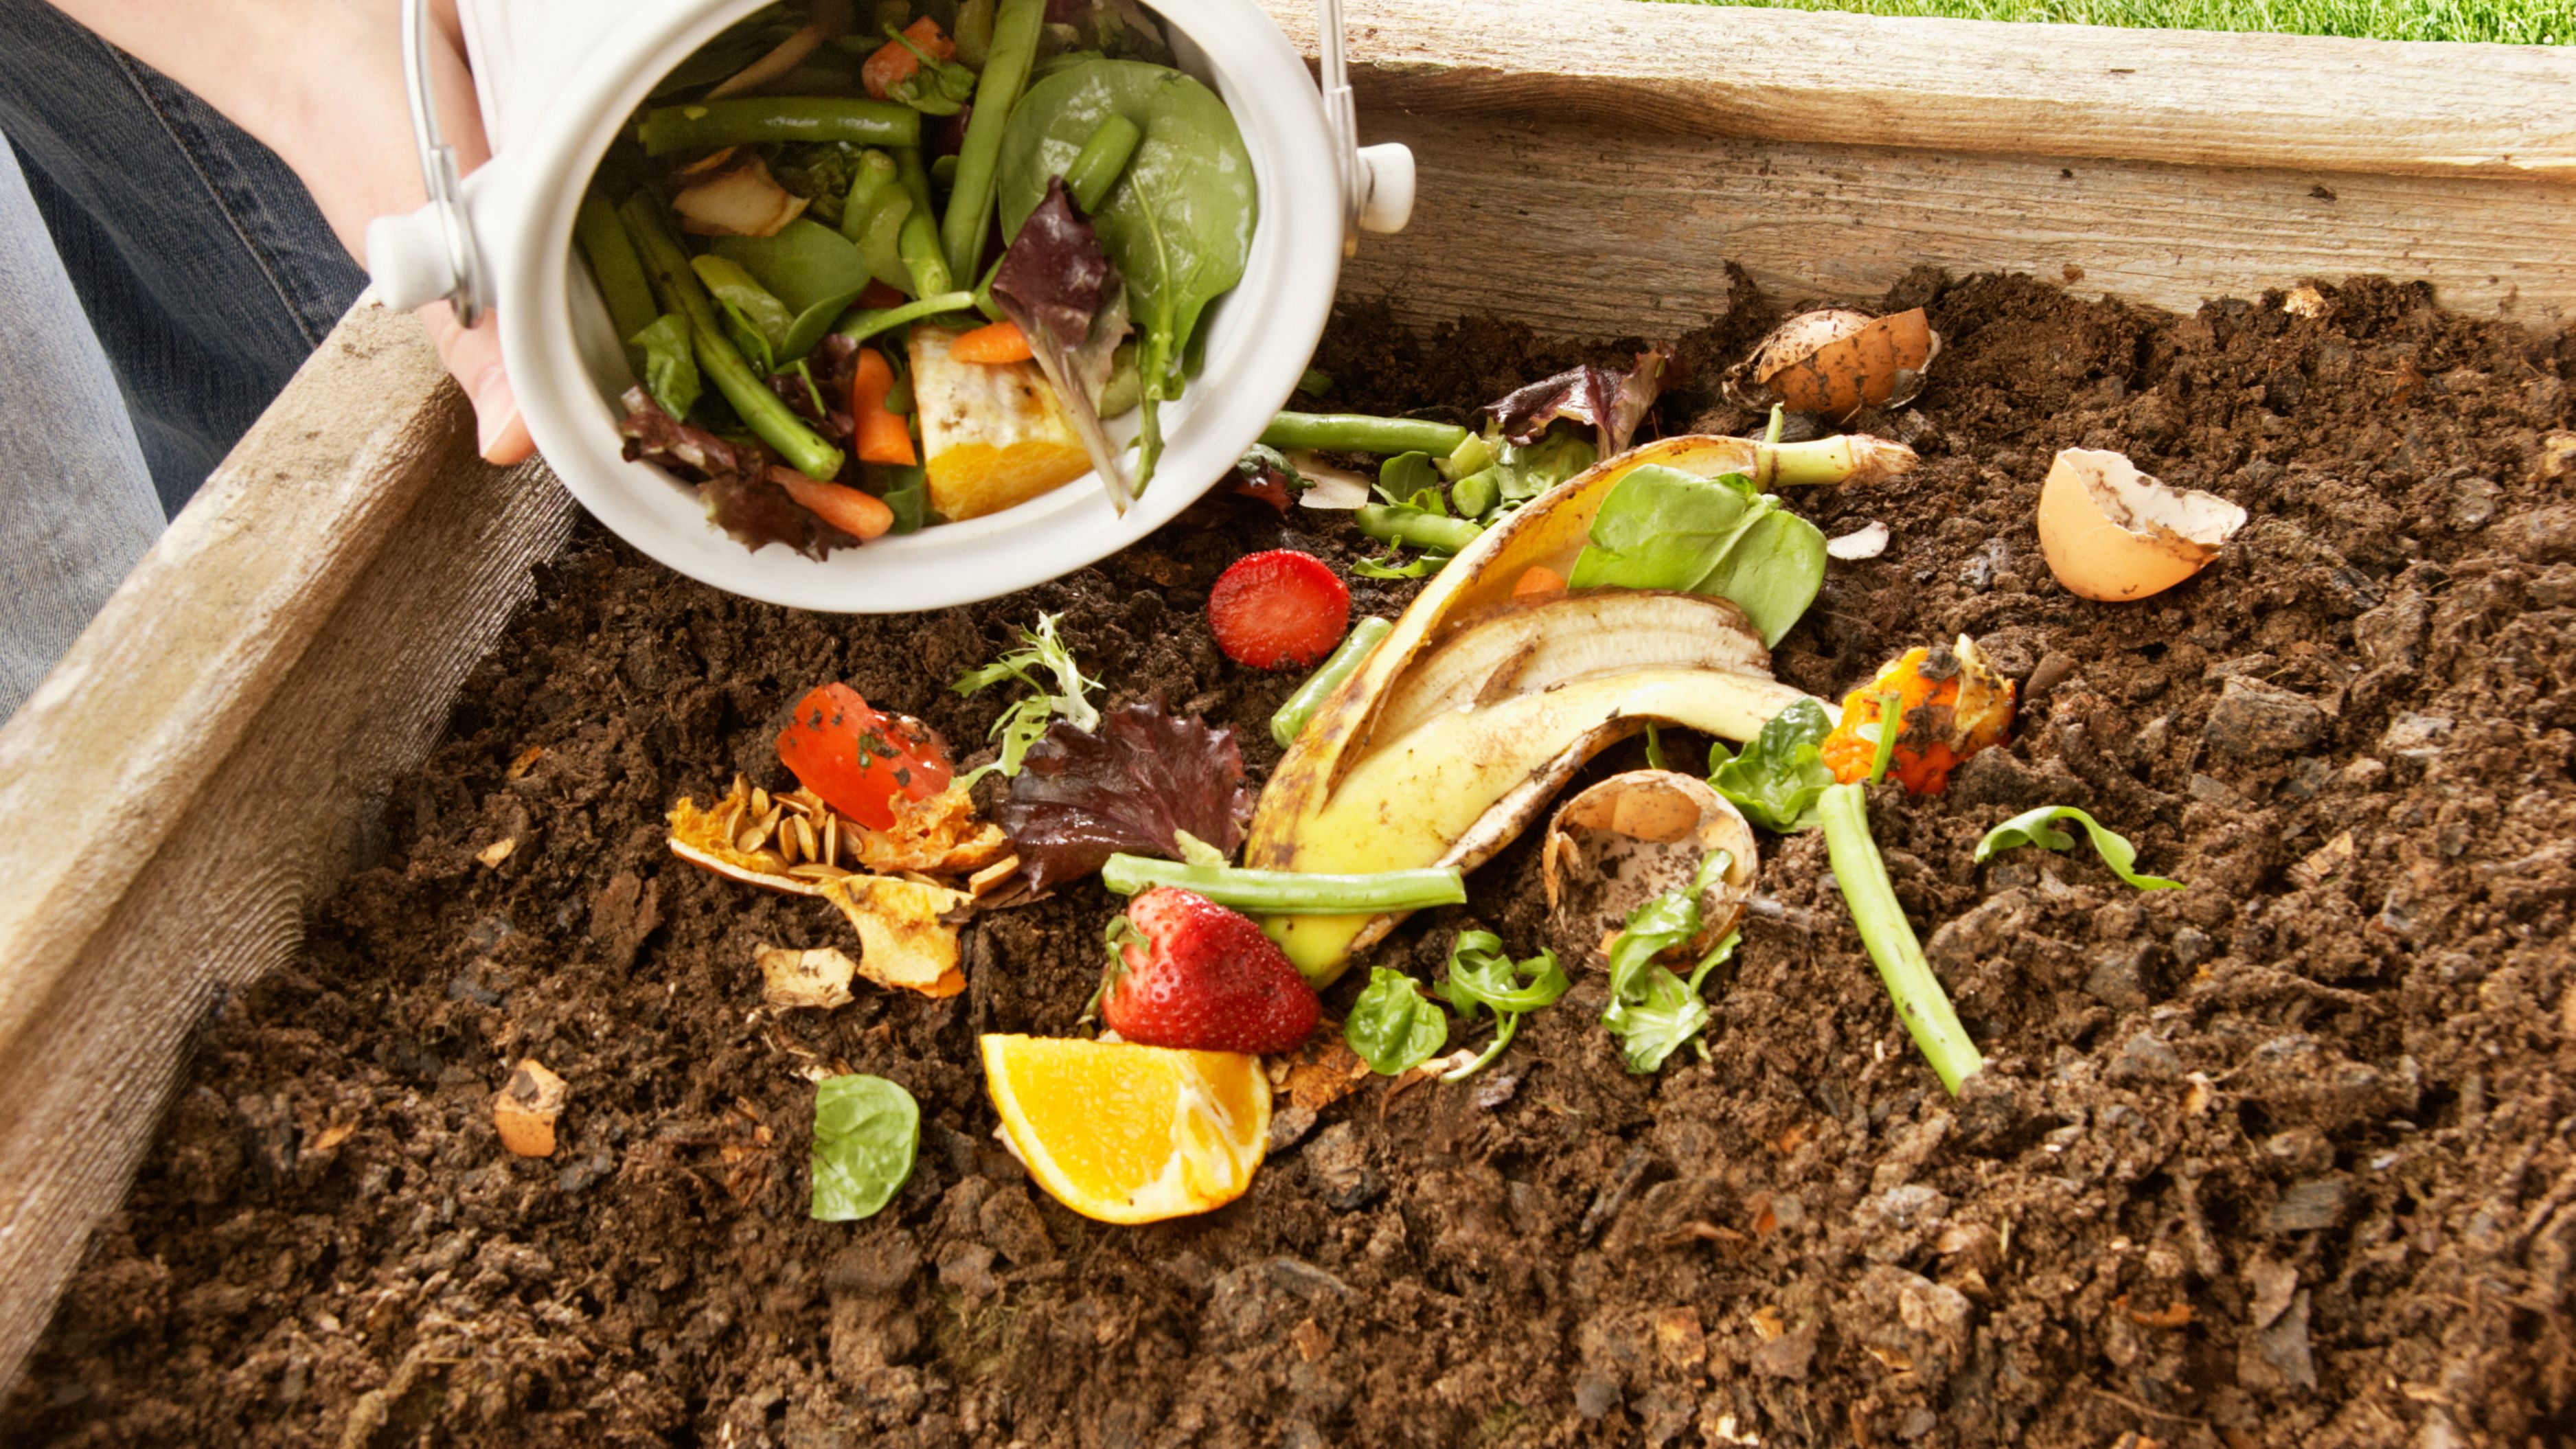
Composting is the process of allowing organic material – food scraps, plant waste, paper – to decompose into a rich, dark material called compost that's excellent for soil. Microorganisms, worms, and fungi do most of the actual work. Your job is mostly to give them the right conditions: a mix of materials, some moisture, and occasional turning or aeration to keep things moving.
The reason composting is worth doing comes down to two things. First, food waste in landfills doesn't decompose cleanly – it produces methane, a potent greenhouse gas, because landfills lack the oxygen and microbial activity that proper decomposition requires.
Composting at home diverts that waste and lets it decompose in a way that's actually useful. Second, finished compost is one of the best soil amendments available – it improves soil structure, feeds plants slowly, and reduces the need for synthetic fertilizers. If you have any houseplants, a garden patch, or even a window box, finished compost is genuinely valuable to you.
The Two Numbers You Actually Need to Know
Composting can get complicated, but for beginners, it really comes down to understanding two categories of material: browns and greens. Every successful compost pile is a mix of both.
Browns are carbon-rich materials: dry leaves, cardboard, newspaper, paper bags, egg cartons, straw, and wood chips. They provide structure and prevent the pile from getting too wet and smelly. Greens are nitrogen-rich materials: fruit and vegetable scraps, coffee grounds, tea bags, fresh grass clippings, and plant trimmings. They provide the energy that microorganisms need to break things down.
The rough ratio that works for most home composters is about three parts browns to one part greens by volume. You don't need to measure this precisely – in practice, most people err toward too many greens (because that's mostly what they're generating from cooking), which is what causes odor and fruit fly problems. The fix is always to add more browns. Keeping a bag of torn-up cardboard or dry leaves near your compost bin makes it easy to add browns every time you add food scraps.
Choosing the Right Setup for Your Situation
The composting method that works for you depends primarily on how much outdoor space you have and how much material you're generating. There's no single right answer – there are several good options for different living situations.
Outdoor compost bin: If you have any outdoor space at all – a backyard, a patio, a balcony – a basic compost bin is the simplest approach. You can buy a plastic tumbler or open bin ($30 to $80 at most garden centers or online), or build a simple three-sided wooden frame from scrap lumber for almost nothing. Tumblers are better for keeping things contained and pest-free; open bins are cheaper and easier to turn. Either way, you add materials, keep the moisture level similar to a wrung-out sponge, and turn the pile every week or two to speed things up. Finished compost typically takes two to six months depending on temperature, frequency of turning, and the balance of materials.
Countertop compost collection bin: This isn't a composting system on its own – it's a container you keep on your kitchen counter to collect scraps before taking them out to a larger bin, to a municipal composting pickup, or to a community garden drop-off. A good countertop bin ($15 to $30) with a charcoal filter lid eliminates odors even with several days of scraps inside. It makes composting significantly more convenient because you're not making trips outside with every peel and coffee ground.
Worm bin (vermicomposting): This is the method for people without outdoor space, and it's far less intimidating than it sounds. A worm bin – also called a vermicomposting system – uses red wiggler worms to break down food scraps directly. The bin can live in a cabinet under the sink, in a closet, or in any reasonably temperature-stable indoor location. It produces worm castings, which are an exceptionally nutrient-rich form of compost. A basic starter kit costs $30 to $60 and includes a bin and a starter batch of worms. The worm bin generates essentially no odor when maintained correctly – it should smell like fresh earth, not rot. Red wigglers eat roughly half their body weight in food scraps daily, so a bin with half a pound of worms can process a quarter pound of scraps per day, which is enough for a one or two-person household.
Bokashi composting: Bokashi is a fermentation-based method that uses inoculated bran to break down food scraps – including meat and dairy that traditional composting can't handle – in an anaerobic (sealed) environment. You layer food scraps with bokashi bran in a sealed bucket, let it ferment for two weeks, and then bury the pre-compost in soil where it finishes breaking down. It's odorless during the fermentation phase when the lid is sealed and generates a liquid runoff called bokashi tea that can be diluted and used as fertilizer. Starter kits run $30 to $60. It's a particularly good option for households that want to compost everything – including food that other methods can't handle.
What You Can (and Can't) Compost
Yes: Fruit and vegetable scraps, coffee grounds and paper filters, loose leaf tea and paper tea bags, eggshells, bread and grains (in moderation, in covered bins), shredded paper and cardboard, paper napkins and paper towels (unbleached), dry leaves, plant trimmings, grass clippings, hair and nail clippings, dryer lint from natural fibers.
No (in traditional outdoor composting): Meat, fish, and bones, dairy products, oils and greasy foods, pet waste, diseased plants, anything treated with pesticides. These items either attract pests, produce strong odors, or contain pathogens that outdoor composting conditions don't reliably eliminate. If you want to compost meat and dairy, bokashi is the right method for those materials.
One thing that surprises many beginners: citrus peels and onions are fine in a compost bin, despite the persistent rumor that they're harmful to worms or too acidic. They can slow a worm bin slightly in very large quantities, but in normal amounts they're not a problem in either a bin or a worm system.
The Mess and Smell Problem (And How to Avoid It)
A smelly compost bin almost always has one of three causes: too many greens without enough browns, too much moisture, or a bin that's too compacted and not getting enough airflow. Each of these has a simple fix.
If your bin smells bad, add browns – a good handful of torn cardboard or dry leaves – and mix them in. Do this every time you add food scraps rather than waiting until the smell appears. If the pile is too wet (it should feel like a wrung-out sponge, not dripping), add more browns to absorb the excess moisture, or leave the lid off for a day or two to let it dry slightly. If the pile is compacted and airless, turn it with a pitchfork or compost aerator tool to introduce oxygen.
Fruit flies are a sign that food scraps are exposed on the surface. The solution is to bury new scraps under existing material every time you add them, rather than placing them on top. Keeping a thin layer of browns on the surface at all times prevents flies from accessing the fresh organic matter they're attracted to.
Indoor worm bins and bokashi systems, when maintained correctly, should generate essentially no odor and no pest issues at all. They're specifically designed for contained, indoor-compatible use.
Your 30-Day Composting Start Plan
Getting started doesn't require doing everything perfectly from day one. Here's a simple progression that gets you from zero to a working compost system over 30 days.
Days 1–5 – Choose your method. Based on your living situation, decide which composting approach makes sense: outdoor bin, worm bin, or bokashi. Order or purchase your supplies. While you wait, start saving food scraps in a sealed container in the fridge (which prevents odors and lets you build up material before your system is ready).
Days 6–10 – Set it up. Assemble or set up your composting system. Add your first batch of browns – torn cardboard, dry leaves, or shredded newspaper. Add your saved scraps. In an outdoor bin, make sure the initial pile is moist but not wet. In a worm bin, add a starter bedding of dampened newspaper strips before introducing worms.
Days 11–20 – Build the habit. Add scraps consistently, always covering them with a small amount of browns. In an outdoor bin, give the pile a quick turn every few days. Notice any odor or moisture issues and correct them as described above. The habit of adding browns every time you add greens is the most important early habit to establish.
Days 21–30 – Observe and adjust. Check how your system is developing. A healthy outdoor bin should be warm in the center, earthy-smelling, and gradually reducing in volume as material breaks down. A healthy worm bin should be producing dark, moist castings at the bottom. Make any adjustments needed, and by day 30 you'll have a working system that runs mostly on its own.
Mistakes to Avoid
The most common beginner mistake is adding too much of one type of material without balancing it. Adding only food scraps without any browns is what causes most of the smell and pest problems that give composting a bad reputation. The ratio reminder is: add a small layer of browns every time you add greens.
Starting too big is another common trip-up. You don't need a full outdoor compost setup right away if you're not sure you'll maintain it. A countertop bin that you take to a community composting site, or a small worm bin, is a better starting point than building an elaborate system you abandon after three weeks.
Giving up after one problem is also worth naming. A smelly bin, a fruit fly situation, or a pile that seems like it's not breaking down are all normal early challenges with simple fixes. They're not signs that composting isn't working or isn't right for you – they're just feedback about what to adjust.
FAQ
Do I need outdoor space to compost? No. A worm bin or bokashi system can be used entirely indoors and works well in apartments. Many cities also have municipal composting programs or community gardens with compost drop-off sites, which means you can participate in composting without maintaining a system at home at all.
How long until I have usable compost? An outdoor bin with regular turning typically produces usable compost in two to six months. A worm bin produces castings more continuously – you can harvest from the bottom every one to three months. Bokashi pre-compost needs to be buried in soil for two to four weeks before it's fully finished. Faster isn't always necessary – the system works at its own pace.
What do I do with finished compost if I don't have a garden? Mix it into potting soil for houseplants, offer it to neighbors with gardens, bring it to a community garden, or add it to any outdoor green space. Most community gardens are genuinely happy to receive finished compost, and local gardening groups often connect people who have compost with people who can use it.
Is composting worth it if I live alone and don't generate much food waste? Yes – even a small amount of food waste composted is better than that waste going to a landfill. A countertop collection bin taken to a municipal composting site weekly requires almost no setup or maintenance and keeps organic waste out of the trash. A small worm bin is also well-suited to lower-volume households.
Can I compost in winter? Outdoor composting slows significantly in cold weather – microbial activity decreases as temperatures drop, which means decomposition nearly stops in freezing conditions. You can keep adding material through the winter, and decomposition will resume in spring. Worm bins and bokashi systems maintained indoors are unaffected by outdoor temperature and continue working year-round.
You don't need to do this perfectly. You just need to start, make a few adjustments as you go, and keep it simple. Most people who get a system working and give it 30 days find that it becomes one of those small habits that feels almost automatic – and the satisfaction of turning kitchen scraps into something genuinely useful is its own reward.
📚 Sources
EPA. Composting At Home. https://www.epa.gov/recycle/composting-home
USDA Natural Resources Conservation Service. Soil Health and Composting. https://www.nrcs.usda.gov/conservation-basics/natural-resource-concerns/soils/soil-health
University of California Cooperative Extension. Home Composting. https://ucanr.edu/sites/Nutrition_Policy_Institute/files/288107.pdf
Cornell Composting. Compost Physics. https://compost.css.cornell.edu/physics.html
Washington State University Extension. Backyard Composting. https://extension.wsu.edu/publications/backyard-composting/
The Rodale Institute. Vermicomposting Guide. https://rodaleinstitute.org/blog/vermicomposting-a-beginners-guide/
EPA. Greenhouse Gas Emissions from Food Waste in Landfills. https://www.epa.gov/sustainable-management-food/reducing-impact-wasted-food-recovering-unexpected-sources
Oregon State University Extension. Introduction to Bokashi Composting. https://extension.oregonstate.edu/news/bokashi-composting-101
CalRecycle. Worm Composting Basics. https://calrecycle.ca.gov/organics/worms/
National Resources Defense Council. How to Compost at Home. https://www.nrdc.org/stories/composting-101
🔍 Explore Related Topics